
On this page
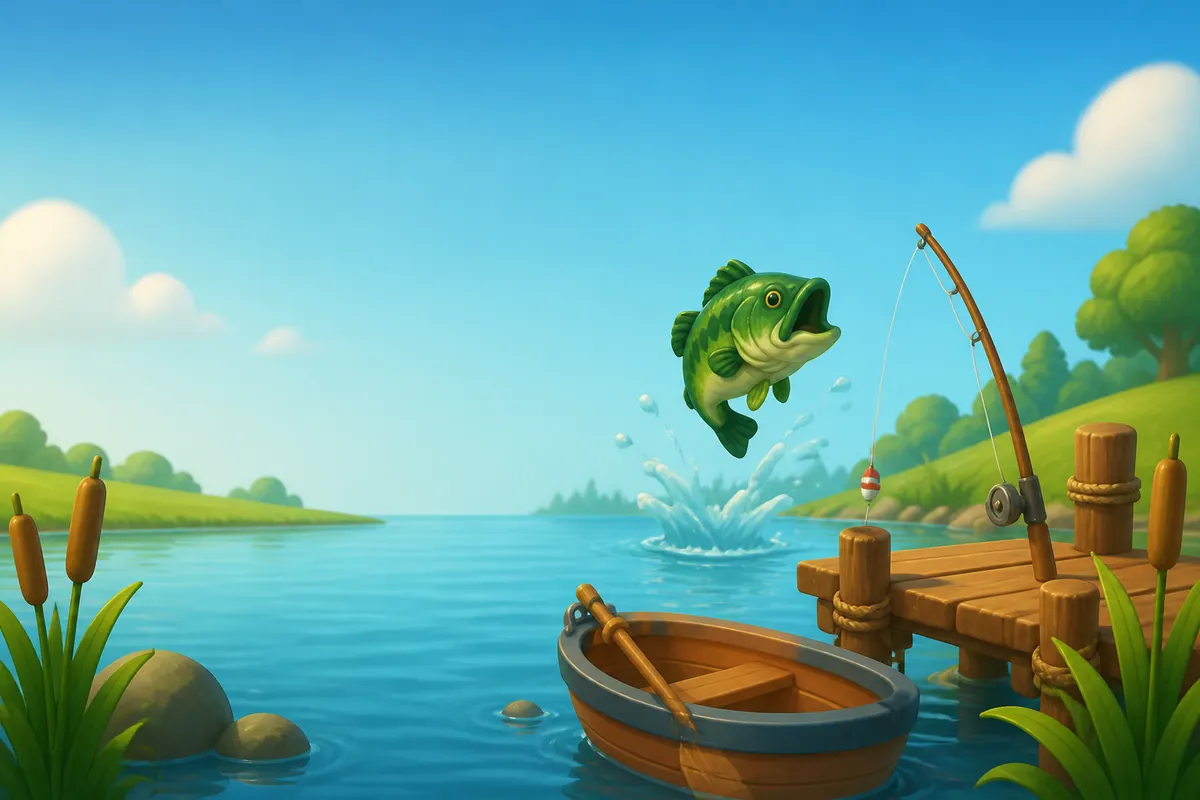
The Lake is the first Valley building you restore, and it is a calm, rewarding place to spend a few minutes between farm chores. You cast a line, wait for a bite, tap at the right moment, and slowly fill a collection book while the fish you catch feed into potions, bait and some very good dishes.
This guide walks through everything: how to open the Lake, how fishing works, what bait and
traps do, how Lake Mastery grows, and which fish are worth selling or cooking. For the full
list of fish with their sell prices, see the  Lake table.
Opening the Lake
The Lake is one of the buildings of  the Valley. You can restore it from level 30.
Restoring it works like every Valley building: you hand in a stack of materials from three
categories (Construction Materials, Crafted Goods and Animal Goods) until the progress bars
are full. Start gathering before you reach level 30 and you can finish the job right away.
the Valley. You can restore it from level 30.
Restoring it works like every Valley building: you hand in a stack of materials from three
categories (Construction Materials, Crafted Goods and Animal Goods) until the progress bars
are full. Start gathering before you reach level 30 and you can finish the job right away.
Once the Lake is open you also get two helper stations that live on the Lake screen rather than on your farm:
- Bait Shack
(
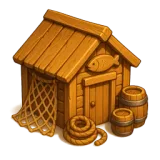 ):
crafts traps and bait. It arrives with the Lake.
):
crafts traps and bait. It arrives with the Lake. - Fisher’s Kitchen
(
 ):
cooks fish into potions and dishes. It opens at level 31.
):
cooks fish into potions and dishes. It opens at level 31.
Both can be upgraded for coins to get more crafting slots.
Good to know: The Lake is a stepping stone. Restoring it is what lets you restore the Mine next, so it is worth doing even if you do not plan to fish much. See the
Mine & Blacksmith guide.
The five lake areas
The Lake has five areas. Each one has its own fish, and each one asks for two things: a player level and enough total Fishing XP. Fishing XP is simply what you earn from catching fish and collecting traps, added up across every area you have opened.
| Area | Player level | Total Fishing XP needed | Trap slots |
|---|---|---|---|
| Small Pond | 30 | none | 1 |
| River | 38 | 300 | 2 |
| Deep Lake | 48 | 600 | 3 |
| Coast | 58 | 1,000 | 4 |
| Open Sea | 70 | 1,800 | 5 |
New areas unlock automatically once you meet both requirements. The more you fish, the sooner the next area opens, and every catch counts, not just those from the newest area.
Tip: Traps give Fishing XP too, and they give it to your highest unlocked area. If you are waiting on an XP threshold, keep your traps busy.
How a cast works
Fishing costs 1 Lake energy per cast. The flow is simple:
- Pick your area and, if you like, a bait.
- Cast and wait for the fish.
- When a bite comes, a ring shrinks toward a target circle. Tap when the ring sits on the target.
- Reel in the catch. Tap too early and you scare the fish; tap too late and it gets away.
How hard the tap is depends on the fish. Common fish give you a large, slow ring. Uncommon ones are tighter, rare ones are small and fast, and legendary fish give you only a tiny window. Catching a fish for the first time adds it to your Fishopedia.
Energy
You start with 10 Lake energy and regain one point every 20 minutes. Lake Mastery raises your cap and, at Silver Angler, speeds up the refill (see below). If you run dry, a Fishing Potion restores 3 energy. You can cook one in the Fisher’s Kitchen from the cheap fish of each area, which makes a good use for the many common fish you will catch.
Sizes and shiny fish
Every catch has a size: small, medium, large or giant. Bigger fish sell for more. Without bait a cast lands 40% small, 35% medium, 20% large and 5% giant. Bait moves its size bonus straight from small to giant, so with a Golden Lure 30% of your catches are giants. Every fish, from a cast or a trap, has a 1% chance to be shiny, which doubles its value and counts toward your Fishopedia.
Bait
Bait is optional but worthwhile. Craft it in the Bait Shack, equip it before you cast, and it improves your odds of rare fish, bigger sizes and double catches. Each bait unlocks with an area, and each is stronger than the last.
Every cast first rolls the rarity: 60% common, 25% uncommon and 12% rare. Bait adds its
bonus to the rare share and takes it from the common fish: +8% for Basic Worm Bait, +15% for
Berry Bait, +20% for Premium Fish Bait and +30% for the Golden Lure. The Fishing Jetty on the
 Farm Map adds another 1% to 5%. If an area has no fish of the rolled rarity, you get a common
one instead, so the Small Pond (no rare fish) gives 75% common and 25% uncommon whatever the
bait. The Lake page has the chance for every fish with your own bait and Jetty, plus a
table of everything that changes the odds.
Farm Map adds another 1% to 5%. If an area has no fish of the rolled rarity, you get a common
one instead, so the Small Pond (no rare fish) gives 75% common and 25% uncommon whatever the
bait. The Lake page has the chance for every fish with your own bait and Jetty, plus a
table of everything that changes the odds.
| Bait | Unlocks with | Craft time | Made from |
|---|---|---|---|
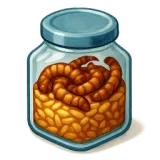 Basic Worm Bait Basic Worm Bait |
Small Pond | 10 min | Wheat, Corn |
 Berry Bait Berry Bait |
River | 20 min | Berries, Honey |
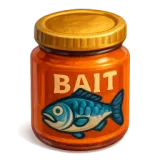 Premium Fish Bait Premium Fish Bait |
Coast | 45 min | Fish, Reeds, Honey |
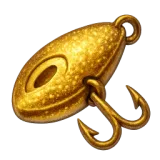 Golden Lure Golden Lure |
Open Sea | 2 h | Gold Ore, Wild Honeycomb, Berries |
Two baits do something special: Premium Fish Bait and the Golden Lure are the only way to have a chance at a legendary catch, and only in the Open Sea: 3% per cast with either of them. Without one of them, the Whale Shark never bites. The Golden Lure is the strongest bait of the four.
Tip:
The Mine Exchange also trades some baits for ore and ingots, which is a handy way to turn spare mining goods into fishing power.
Fish traps
Traps fish for you while you are away. Set one in a trap slot, come back later, and collect the haul.
- Fish Trap: runs for 8 hours and brings in a handful of fish. Available from the Small Pond.
- Lobster Trap: runs for 12 hours and brings in fewer but pricier catches. It unlocks with the Deep Lake, and every catch is a Lobster. A rare roll on a Deep Lake cast can hook one too.
You can place as many traps as your best unlocked area allows, plus one extra slot once you reach Master Angler. A Fish Trap catches common fish from every area you have opened. Putting any bait on a trap gives you 1.5 times the fish (rounded up) and a 15% chance per fish to be an uncommon one; traps never catch rare or legendary fish, and their sizes lean small (57% small, 30% medium, 10% large, 3% giant). You can also set or collect every trap with a single tap.
Lake Mastery
Every catch and every finished trap earns Lake Mastery XP. Rarer fish give more. Mastery has four tiers on top of your starting rank:
| Tier | Name | XP needed | Perk |
|---|---|---|---|
| 1 | Bronze Angler | 500 | +1 max energy |
| 2 | Silver Angler | 2,000 | Another +1 max energy, and energy refills every 18 minutes |
| 3 | Gold Angler | 6,000 | Another +1 max energy, plus a 5% chance of an extra fish on a cast, and the title Gold Angler |
| 4 | Master Angler | 15,000 | Another +1 max energy, one more trap slot, and the title Master Angler |
At the top you have 14 energy instead of 10.
The Fishopedia
The Fishopedia is your fish collection book. It lists every species across all five areas, 19 in total, and tracks the sizes you have caught and any shinies.
- Catch all four sizes of a single fish and you can claim a 5 diamond reward for that species.
- Catch every size of every fish in one area and you earn that area’s title: Pond Naturalist, River Ecologist, Deep Lake Explorer, Coastal Biologist or Ocean Voyager.
- Discover every species and you earn the Fishopedia Master title.
- Discover every fish of an area and your Fishing XP from that area gets a small bonus.
You will also find some of your fish in the  Valley Town Museum, where completing the Lake
wing earns the Keeper of the Lake title. More on titles in the
Valley Town Museum, where completing the Lake
wing earns the Keeper of the Lake title. More on titles in the
 Trophies & Titles guide.
Fish by area
Here is a quick tour. Open the Lake table for the exact sell
prices.
Small Pond:
 Minnow,
 Sunfish,
 Perch and the uncommon
 Golden Shiner.
River:
 Catfish,
 Bluegill,
 Carp and the rare
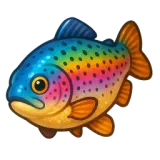 Trout.
Deep Lake:  Bass,
Bass,
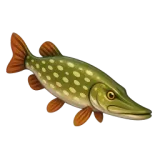 Pike,
Pike,
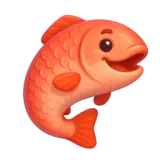 Salmon and the trap-only
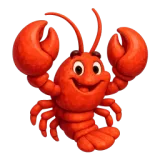 Lobster.
Coast:
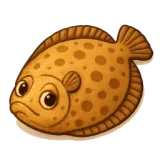 Flounder,
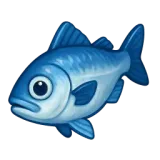 Sea Bass,
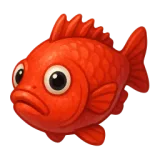 Red Snapper and the rare
 Moonfish.
Open Sea: 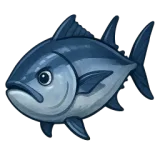 Tuna,
Tuna,
 Swordfish, the rare
 Giant Squid and the legendary
 Whale Shark.
The Whale Shark is a trophy fish and cannot be sold, but you can cook it into Whale Shark Steak at the Fisher’s Kitchen once you reach level 93.
What to do with your catch
Fish can go three ways: sell them, cook them, or trade them.
Selling
Rarer and deeper fish sell for far more than common ones, so the best sellers are the rare
catches. By base price the top earners are the
 Giant Squid, the Moonfish, the Lobster, the Swordfish and the Trout. Large and giant sizes
and shiny fish push the price up further. Prices are base values and can move with the
market.
Giant Squid, the Moonfish, the Lobster, the Swordfish and the Trout. Large and giant sizes
and shiny fish push the price up further. Prices are base values and can move with the
market.
Cooking in the Fisher’s Kitchen
Cooking is where fish shine. A few examples:
- Fishing Potions (five versions, one per area) turn cheap catches into Lake energy.
- Pond Fillet converts three different pond fish into plain Fish, which you need for Premium Fish Bait and many farm recipes.
- Dishes such as
 Lobster Bisque, Fisher’s Rice Bowl and Freshwater Grill sell for much more than the fish
alone. Adventurer Soup restores explorer stamina.
Lobster Bisque, Fisher’s Rice Bowl and Freshwater Grill sell for much more than the fish
alone. Adventurer Soup restores explorer stamina.
Check each dish in the  recipes table for ingredients and
prices.
recipes table for ingredients and
prices.
Trading at the Exchange
The Valley Exchange in the Town has a “Fresh Catches” tier where you hand in fish for items like Merchant Crates, XP and coin boosts, Silica and more. It opens at level 40.
Tips for a smooth start
- Fish whenever your energy is full rather than letting it sit capped, since regeneration stops at the cap.
- Craft Basic Worm Bait early. It is cheap and gives you bigger fish and a 5% double catch right from the start; its rare bonus starts to count in the River, since the Small Pond has no rare fish.
- Keep two or three Fishing Potions in reserve for days when you want a long session.
- Cook the surplus. A stack of common fish is worth more as a potion or a dish than as coins.
- Set traps before bed. An 8-hour Fish Trap is perfect for the night.
- Do not rush to the Open Sea. Filling the Fishopedia of each area as you go gives you titles and a small Fishing XP bonus.